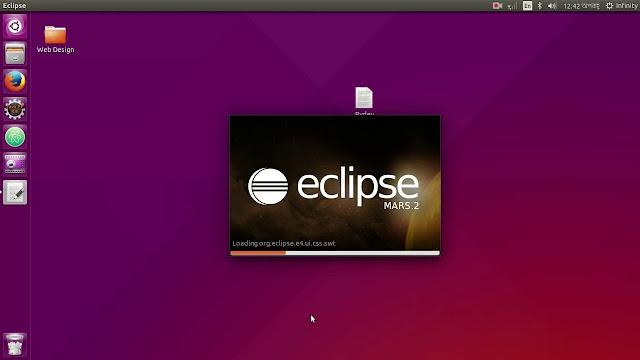
How to Install Eclipse IDE on Ubuntu 16.04
In
this tutorial I will show you how to install Eclipse IDE on Ubuntu
16.04 LTS. For those of you who didn’t know, Eclipse is an open
source and free multi-language and multi-platform (Windows , Linux
and Mac) software development program that used to build JAVA based
web applications.
Eclipse
is used by developers all around the world to code their application,
it is primarily developed in Java, but programmers can use it to code
their applications in various languages like C/C++, COBOL, Fortran,
Perl, PHP, Python, Ruby on Rails etc. It is a cross platform
application and runs fine on Microsoft Windows, Linux, Solaris and
Mac OS.
Must Read : Why you should learn Linux | programmer preferred & Best OS.
Must Read : Why you should learn Linux | programmer preferred & Best OS.
Requirements
:
1.
First make sure that all your system packages are up-to-date by
running these following apt-get commands in the terminal.
| sudo
apt-get update sudo apt-get upgrade |
2.
Installed Java - We need to install Java 8 and above. Run the
following commands to complete this task:
| sudo apt-get install openjdk-8-jdk |
Verify
the Java version on your machine:
| java -version |
Installing the latest Eclipse on Ubuntu 16.04
Eclipse
doesn’t provide an official PPA or an easy way to install the
latest version of it on Ubuntu. You can install it from the software
center but it will be a real old version. At present, Ubuntu Software
Center still has Eclipse version 3.8 which was released in 2012.
Must Read : Top 5 Programming Languages to Learn for 2018.
Must Read : Top 5 Programming Languages to Learn for 2018.
Easy method to install the latest Eclipse version on Ubuntu
Luckily
we have a tool available on Ubuntu that can do all the lifting of
installing Eclipse for us. It’s called ubuntu-make. Basically, it
will download the source code package and dependencies of Eclipse,
compile it and add desktop launcher icons — all of those with just
one command!
First,
let’s install ubuntu-make on our system. Enter the following
commands for installing ubuntu-make:
| sudo
add-apt-repository ppa:ubuntu-desktop/ubuntu-make sudo apt update sudo apt install ubuntu-make |
Once
it’s installed, Now There are four packages of Eclipse available
from ubuntu-make. Installation commands for each of them are listed
below:
-
Eclipse IDE for Java Developers: If you want to work with Java, enter the following command:
umake ide eclipse
-
Eclipse IDE for Java EE Developers: For Java Enterprise Edition development, use this:
umake ide eclipse-jee
-
Eclipse IDE for C/C++ Developers: If you need Eclipse IDE for C/C++ development, use this command:
umake ide eclipse-cpp
-
Eclipse for PHP Developers: For PHP development, install Eclipse with the following command:
umake ide eclipse-php
Congratulation’s!
Eclipse has been installed successfully, launch it from Applications
menu. Thanks for using this tutorial for "installing Eclipse in
Ubuntu 16.04". But if you want install it manually, use second method.
Must Read : Java Array : Programming Exercise for Practice - 60+ Problems.
Must Read : Java Array : Programming Exercise for Practice - 60+ Problems.
Method 2: Manually Install Latest Eclipse Version on Ubuntu
Another Method: Download the latest version eclipse [ Click Here ], at the
time of writing; the version is 4.7. Or you can also download the
Eclipse package over the terminal using the following command -
###
For 32 Bit
###
| curl -O http://ftp.jaist.ac.jp/pub/eclipse/technology/epp/downloads/release/oxygen/R/eclipse-java-oxygen-R-linux-gtk.tar.gz |
###
For 64 Bit ###
| curl -O http://ftp.jaist.ac.jp/pub/eclipse/technology/epp/downloads/release/oxygen/R/eclipse-java-oxygen-R-linux-gtk-x86_64.tar.gz |
Step 1: Extract
Eclipse package to your desired directory:
| tar -zxvf eclipse-java-oxygen-R-linux-gtk*.tar.gz -C /usr/ |
Step 2: Making
a Symlink:
| ln -s /usr/eclipse/eclipse /usr/bin/eclipse |
Step 3: Create
desktop launcher – First
create a new file eclipse.desktop in /usr/share/applications/
and after creating the file paste the code in terminal:
| vi/usr/share/applications/eclipse.desktop |
Step 4: Add
or paste the following content in the above file -
| [Desktop
Entry] Encoding=UTF-8 Name=Eclipse 4.7 Comment=Eclipse Oxygen Exec=/usr/bin/eclipse Icon=/usr/eclipse/icon.xpm Categories=Application;Development;Java;IDE Version=1.0 Type=Application Terminal=0 |
Step 5: Now
install that desktop file using the below command:
| sudo desktop-file-install /usr/share/applications/eclipse.desktop |
Step 6: For
Eclipse icon to be displayed in dash, run following command:
| sudo cp /opt/eclipse/icon.xpm /usr/share/pixmaps/eclipse.xpm |
Congratulation’s!
Eclipse has been installed successfully, launch it from Applications
menu. Thanks for using this tutorial for installing Eclipse IDE in
Ubuntu 16.04 Xenial Xerus system. For additional help or useful
information, we recommend you to check the official Eclipse web site.
If
you like this article then please share with your friends and
colleagues. If you have any question or doubt then please let us know
and I'll try to find an answer for you.


0 Comments